Lately, most all of my paintings start with an object or set of objects that I use to form the basis of the piece. In the case of ‘Pull Here‘, it started with this- a door pull from Home Depot:
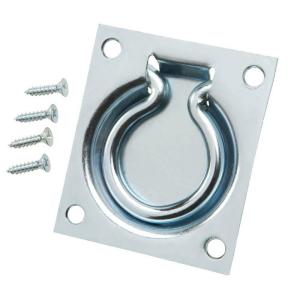
This grabbed my attention and I immediately saw it in use with some markings or instructions, and so the words Pull Here immediately came to mind.
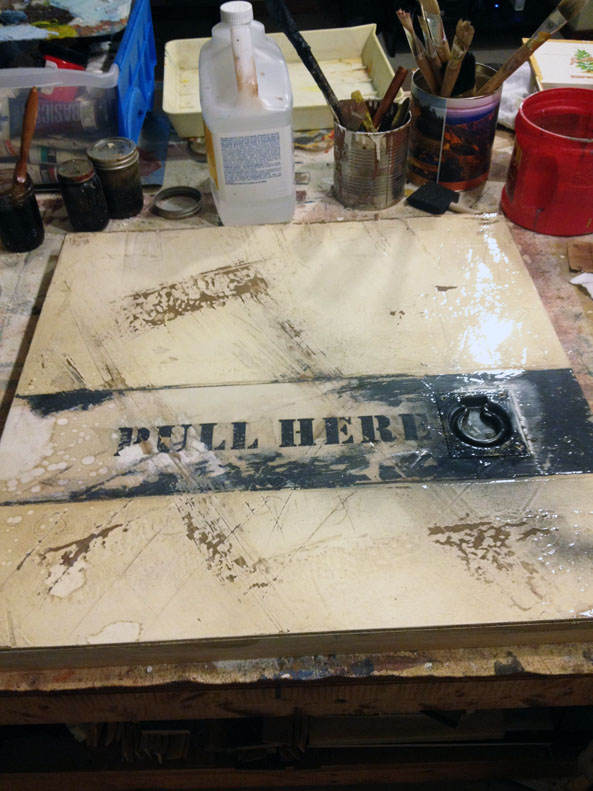
The piece is on a 24″ square panel (luan plywood with some 1×2 cribbing). This was going to give me the depth I needed to seat the door pull hardware. Like I often do, the panel is primed, and then a layer of joint compound was applied. Masking tape helps define the horizontal region toward the bottom and provides me with some depth when layering on the compound.
I’ve been using a lot of reds and yellows in my work lately and I wanted to try something different, so I went with a base coat of linen white. From there I worked it with my usual techniques; rubbing paint off, drying it, sanding it, re-applying, etc. I wanted the area that I had masked off to be darker so I used a dark gray primer and applied that in several coats, again working it and removing a lot of it layer by layer.
The lettering was applied with an image transfer process using acrylic gloss medium and a laser jet print.
To make the scratches stand out as much as they do I apply a clear glaze over the entire piece, let that dry, scratch it, sand it, etc., and then apply a coat of Minwax stain over the surface. Early American was my choice this time. The stain sets in nicely within the scratches, and then can be wiped off the areas where the glaze is still intact.
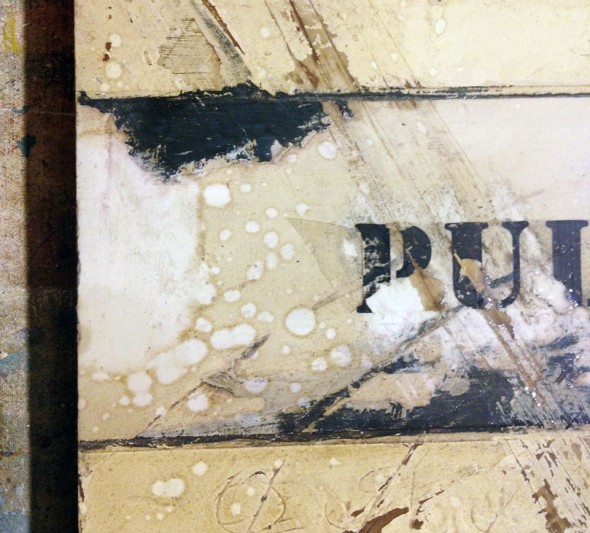
One happy accident that occurred during the process resulted in the spots that appear to the left of the ‘P’. That was courtesy of Mineral Spirits that I accidentally dripped onto the painting while the stain was still wet..
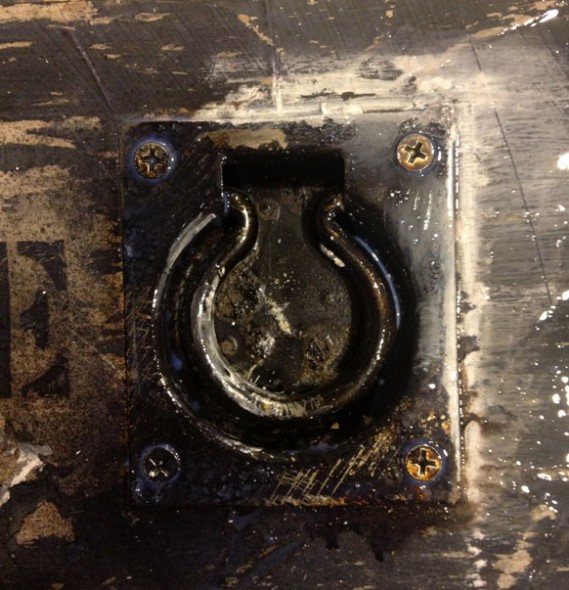
To weather the door pull, I sprayed it black, burned it with the butane torch, scratched it, coated with some shellac, burned it some more…. rinsed and repeated.
Lastly the whole thing got two coats of Polycrylc clear satin. This adds a very tough protective layer to everything.
This past weekend I framed the painting and wired it for hanging.
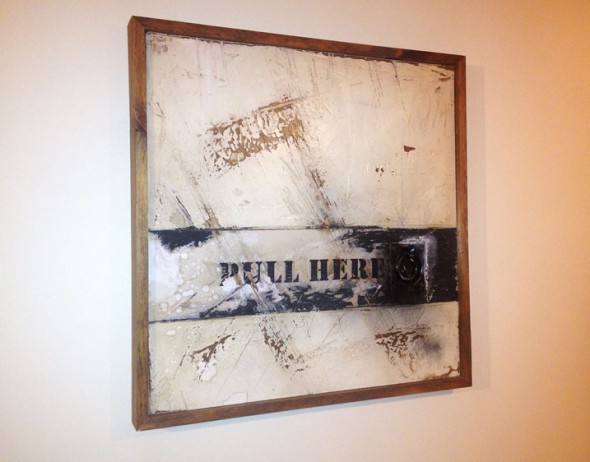
If you’re local, you can see the painting in person at the upcoming New Bridge Summer Group Show at Moravian College. It runs from Saturday July 13 – August 10, 2013.
Comments
One response to “Highlights of the Process for Making ‘Pull Here’”
[…] you’re interested in reading about how this painting was created, view my blog post that covers highlights of the […]