Process
-

Art as Process – A Conversation with Domenick Naccarato – Lehigh Valley Arts Podcast Episode 6, Season 2
I’m very thankful to the folks over at Steel Pixel Studios for featuring me on their latest episode of the Lehigh Valley Arts Podcast where I had the pleasure of chatting with host Ben Orr and my friend and local artist Keith Garubba. We talked about my beginnings as an artist, where I pull inspiration…
-
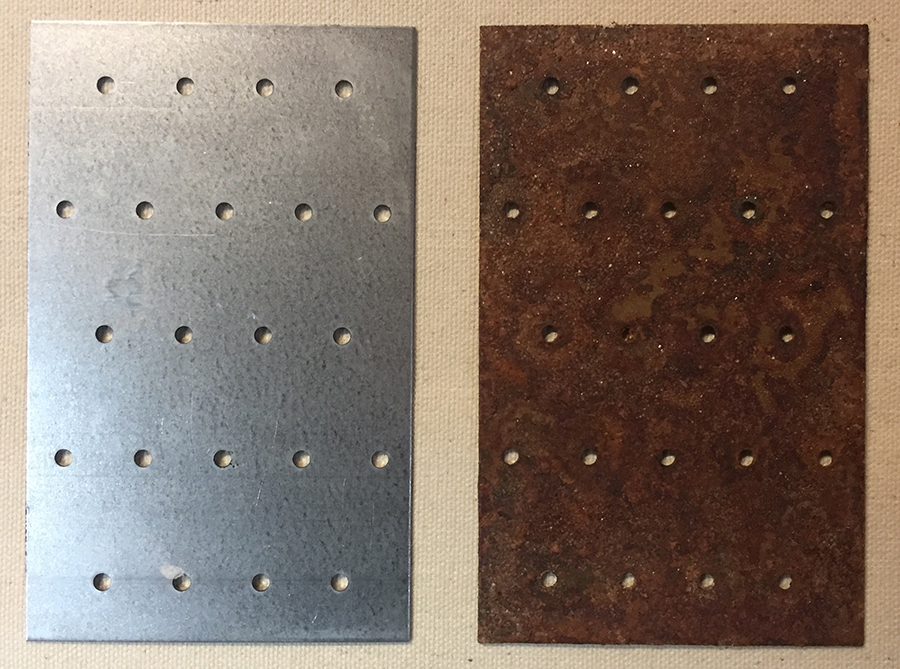
How to Rust Galvanized Steel
Many of the rusty looking assemblage elements that I add to my art actually start out as clean pieces of metal. I love to incorporate tie plates and nail plates that are used in construction, but in most cases this type of steel has a galvanized finish to prevent them from rusting. Through a variety…
-
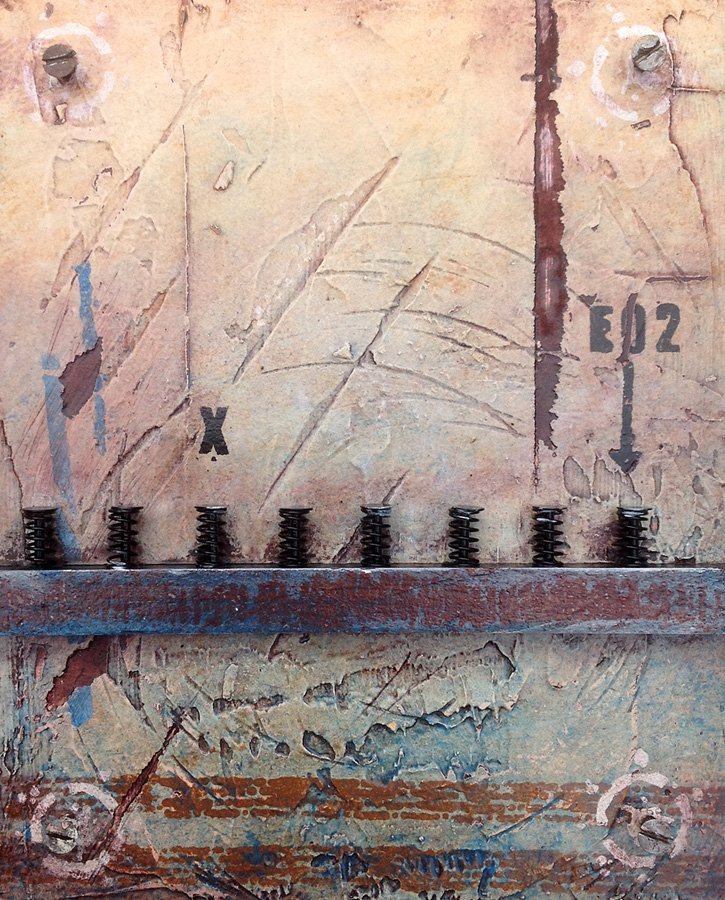
Spring EO2
11″ x 9″ | mixed media with assemblage on plywood | 2015 | SOLD This little guy was created in conjunction with a special project I was invited to take part in by Seth Apter. Seth is a mixed media artist from NYC that I stumbled across online some time ago. One of his many talents…
-
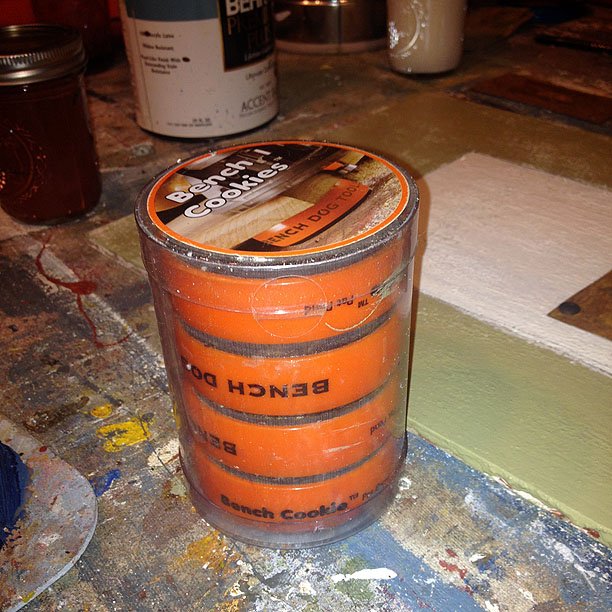
Using Bench Cookies to Prop up Work
Every so often I work on a piece of plywood or MDF that I haven’t cradled in the back. This can make it somewhat of a challenge when I need to attach hardware or drill through it for my various assemblage elements. Because these panels aren’t too thick, whatever I screw in will typically break through to the…
-
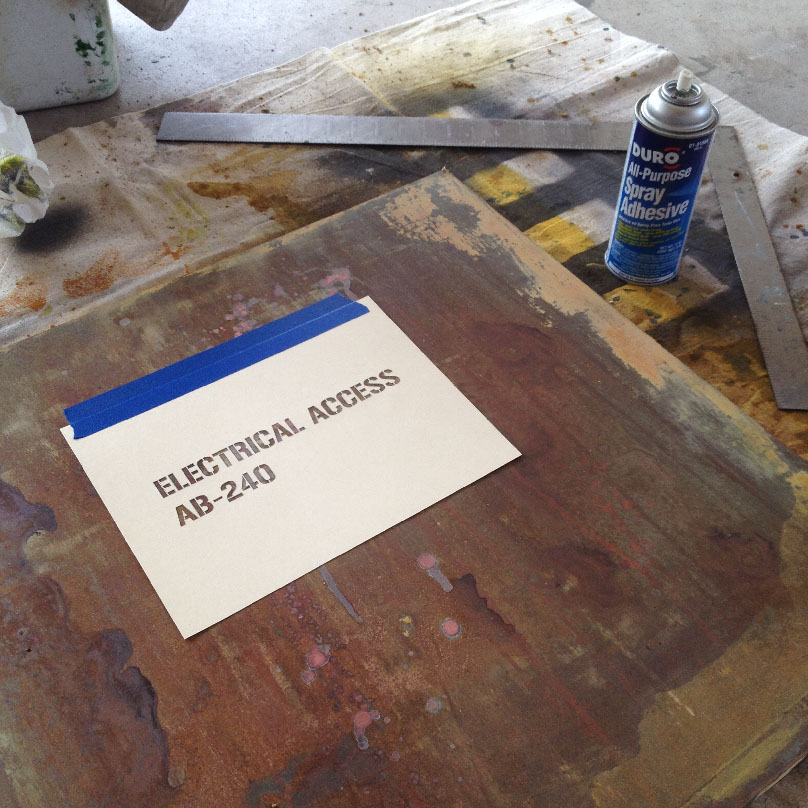
Getting Stencils to Stay in Place
I’ve been using a lot of stencils lately for getting the letters, numbers, or words onto my paintings. Most of the stencils I make are done on a heavier stock paper, so there’s already some rigidity there which helps when working with them. But in order to get my stencils to stay put while I’m…
-
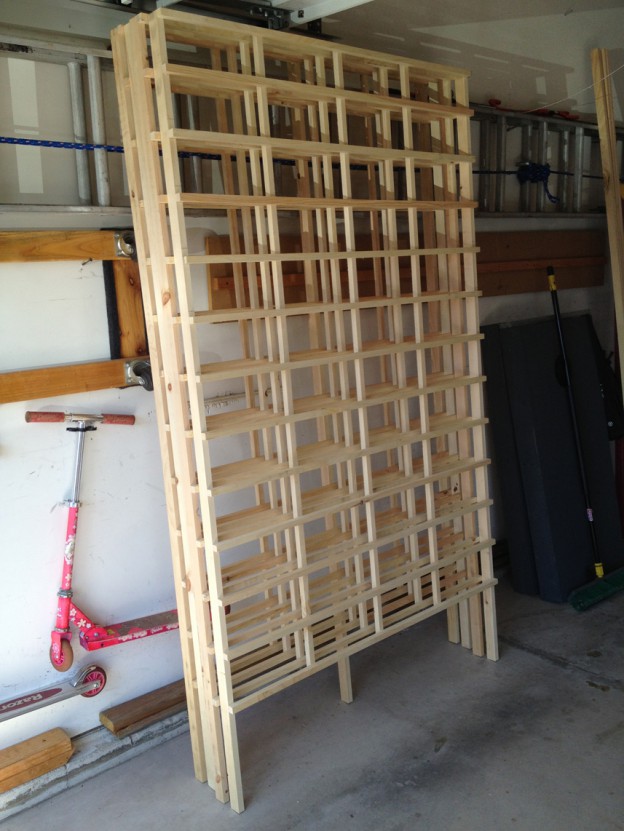
DIY Gridwall for Art Fair Tent
I needed a way to hang my paintings within the space of my tent at the upcoming Riverside Festival of the Arts. Instead of buying gridwall panels I decided to make my own. My version of gridwall is a 48″ wide by 84″ tall panel with 6″x12″ grid spacing. Here’s how I did it… You…
-
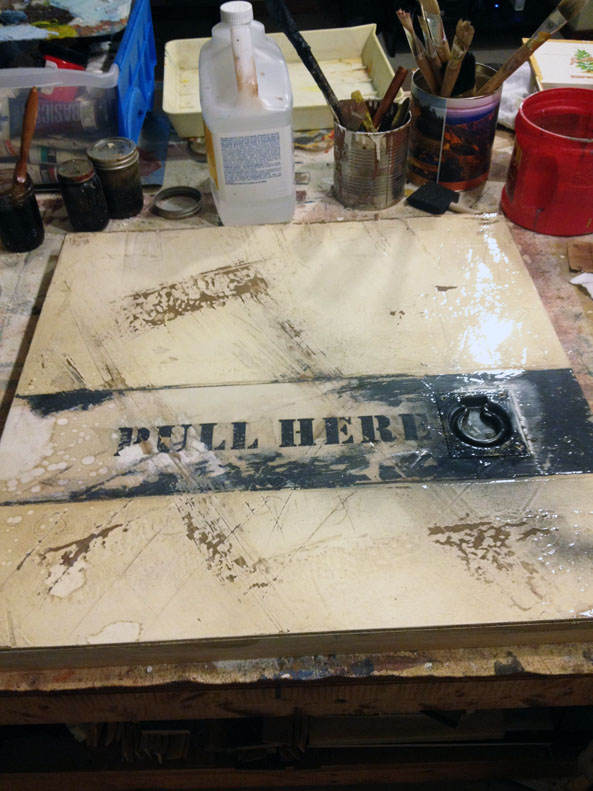
Highlights of the Process for Making ‘Pull Here’
Lately, most all of my paintings start with an object or set of objects that I use to form the basis of the piece. In the case of ‘Pull Here‘, it started with this- a door pull from Home Depot: This grabbed my attention and I immediately saw it in use with some markings or…