
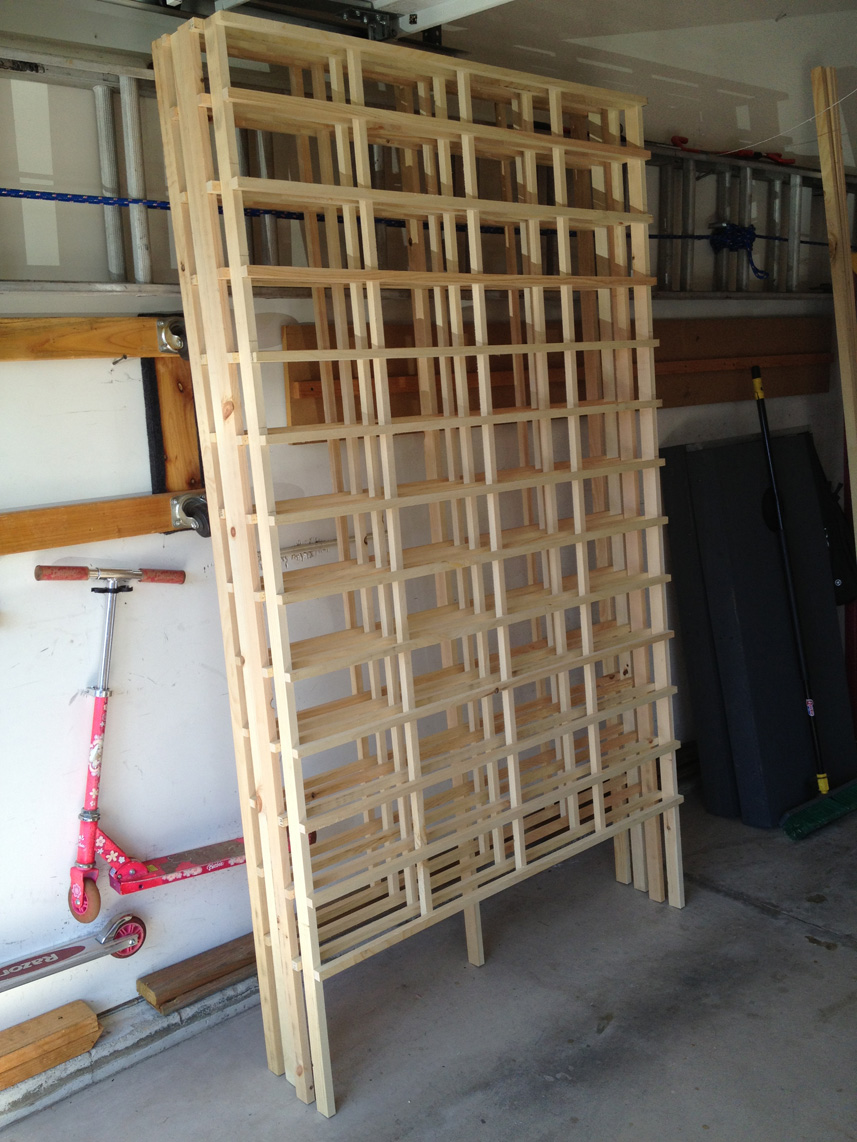
I needed a way to hang my paintings within the space of my tent at the upcoming Riverside Festival of the Arts. Instead of buying gridwall panels I decided to make my own. My version of gridwall is a 48″ wide by 84″ tall panel with 6″x12″ grid spacing. Here’s how I did it…
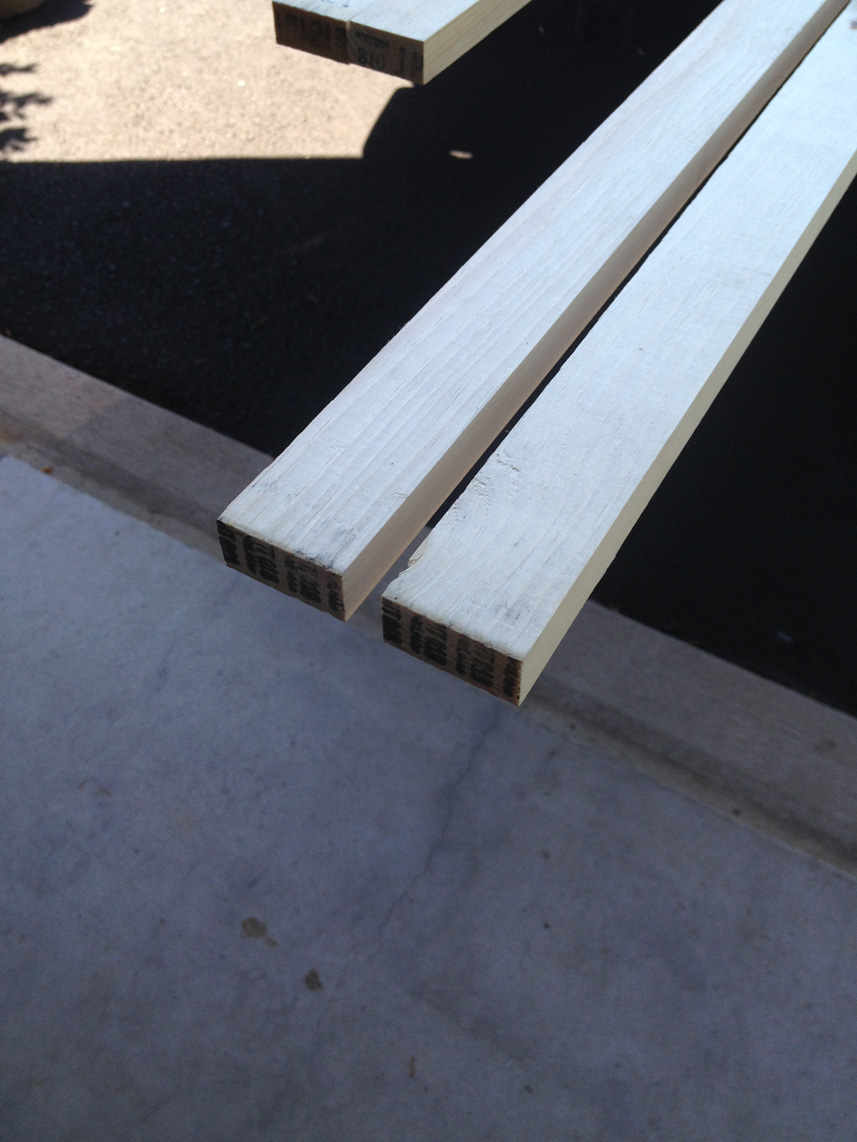
You need at least seven 1x2x8 lengths of pine. I was making a lot of these so I just get them in the bundles of eight at Home Depot.

Find your two straightest pieces and set them aside. These are going to be your side legs.
Now find two more. These will be cut down and used for the three vertical supports within the center of the panel.
Now you need to cut the cross members. Each section needs to be cut to 48″ in lngth. You should be able to get two sections per board (you need three of them). I set up a stop block 48″ from my saw blade so I could make quick work of it. You’ll need six of these total.
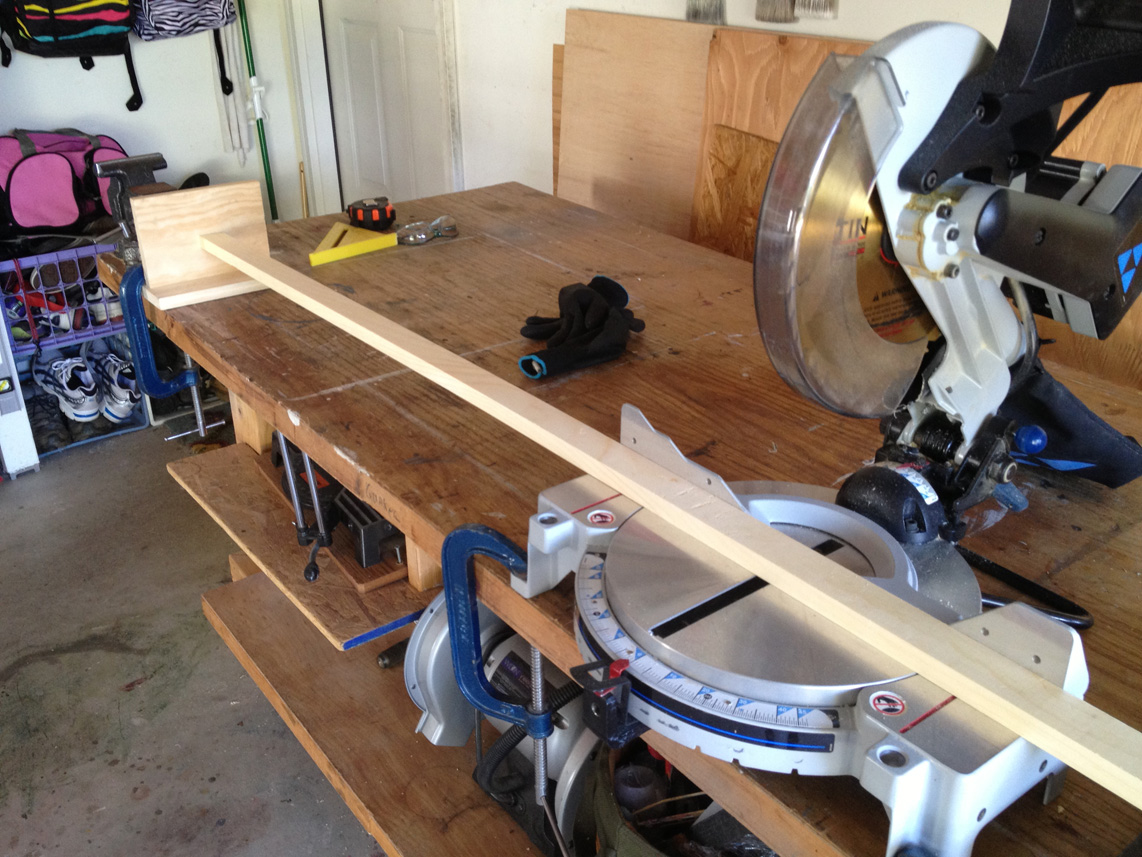
Next, cut the two main legs to 84″ in length. And then cut the center vertical supports. These two sections should be cut down to 72″.
Once all those chop saw cuts are made you should end up with the following:
6 – 1x2x48″
2 – 1x2x84″
2 – 1x2x72″
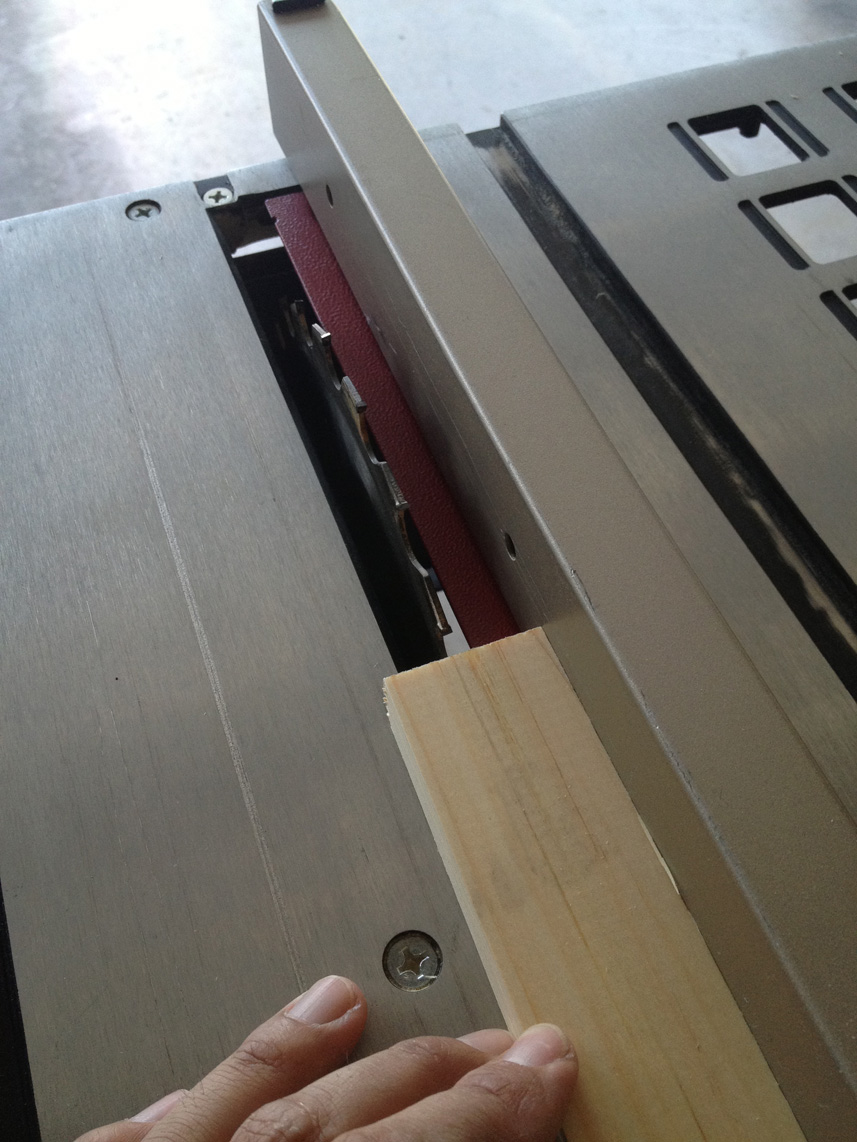
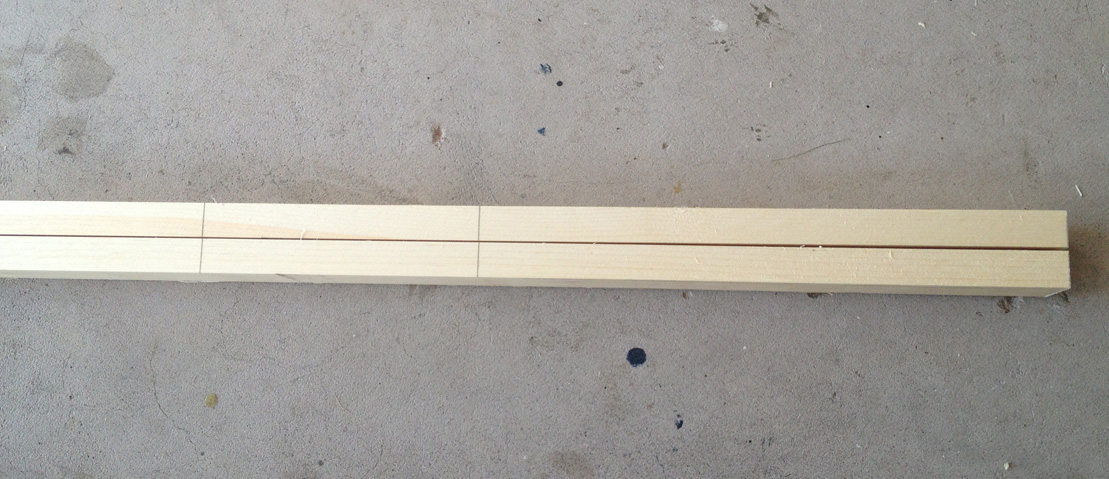
Now it’s time for the rip cuts. I wanted the main cross members, the supports where I plan to hang my work from, to be 1×1 in size. So in order to do this, we need to rip the 1×2’s down the middle.
Take one of the pieces and set up your table saw and guide so that the cut will be made in the center of the board. Once you’re convinced that it’s center, start making your cuts.
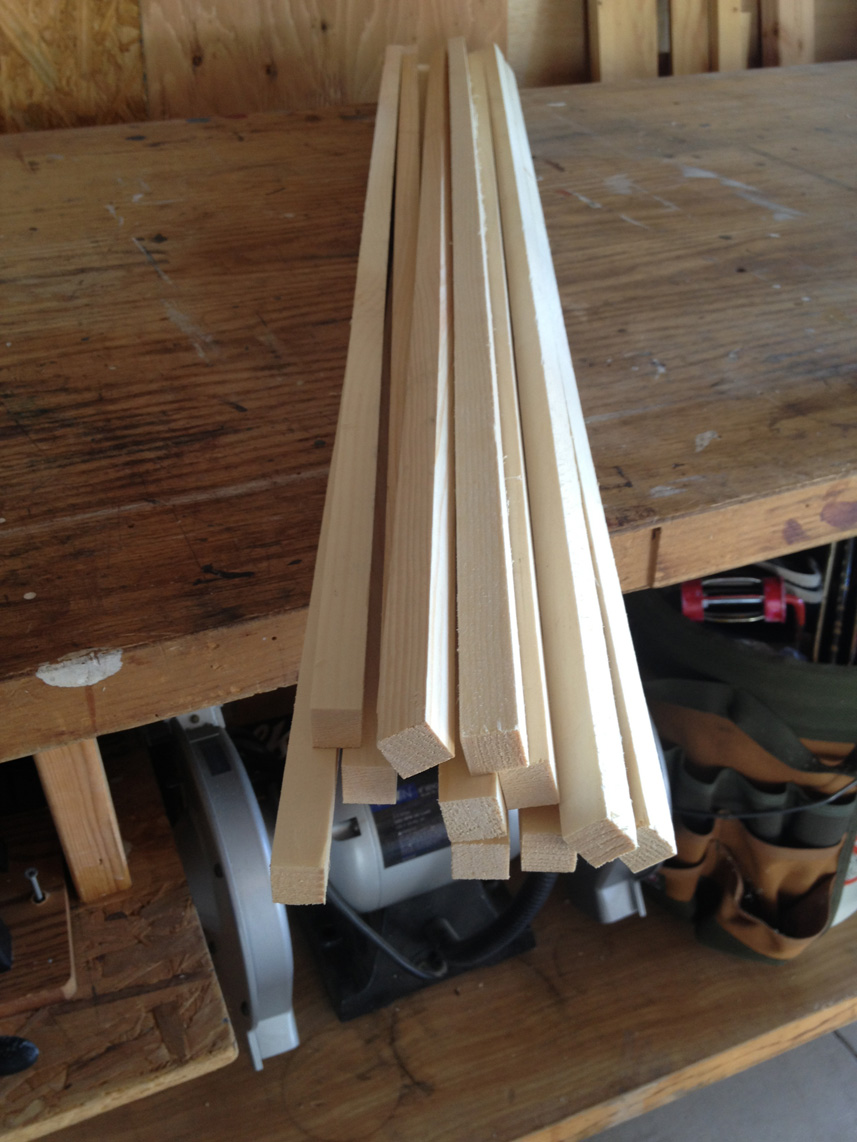
You’ll first rip all six of the cross members. This will give you twelve of them. You need thirteen in total, but you’ll get the thirteenth in a moment.
Now rip the two 72″ lengths down the middle as well. This will give you four 1x1x72 pieces. You only need three, so take one and cut it down to a 48″ length on the chop saw. This is your thirteenth cross member.
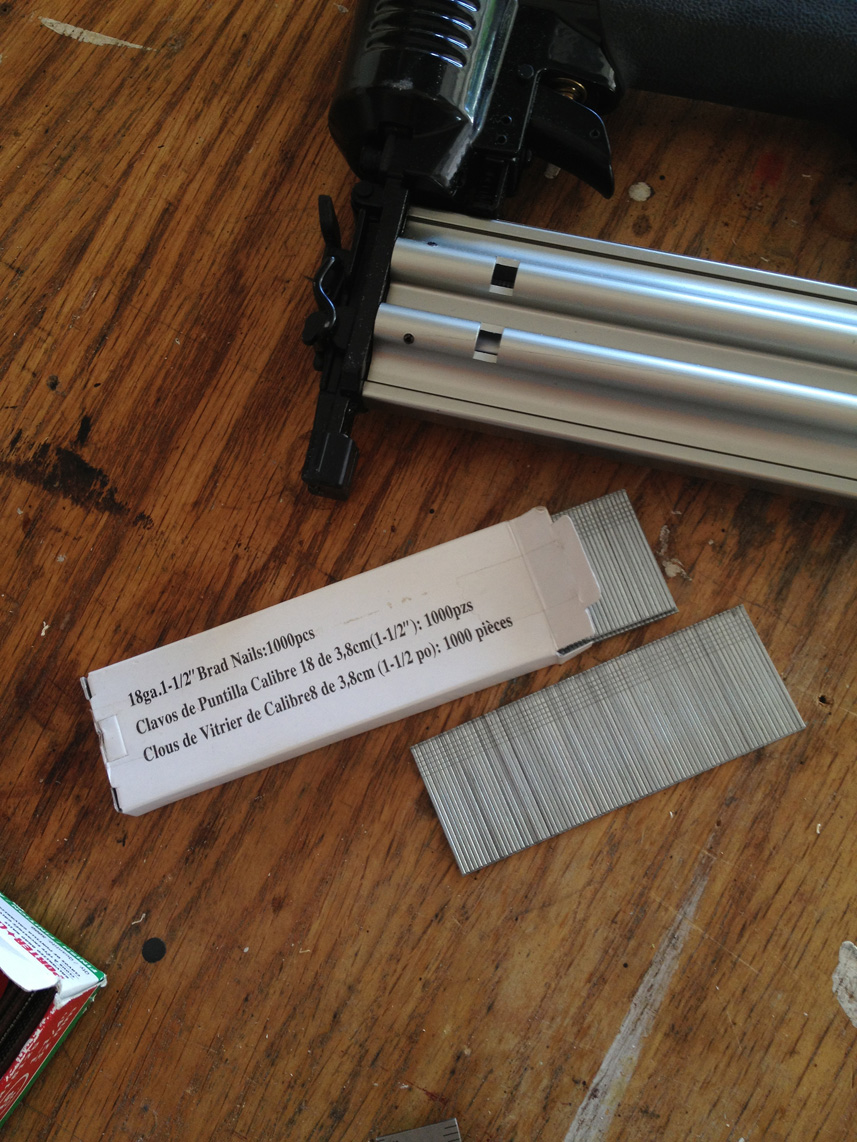
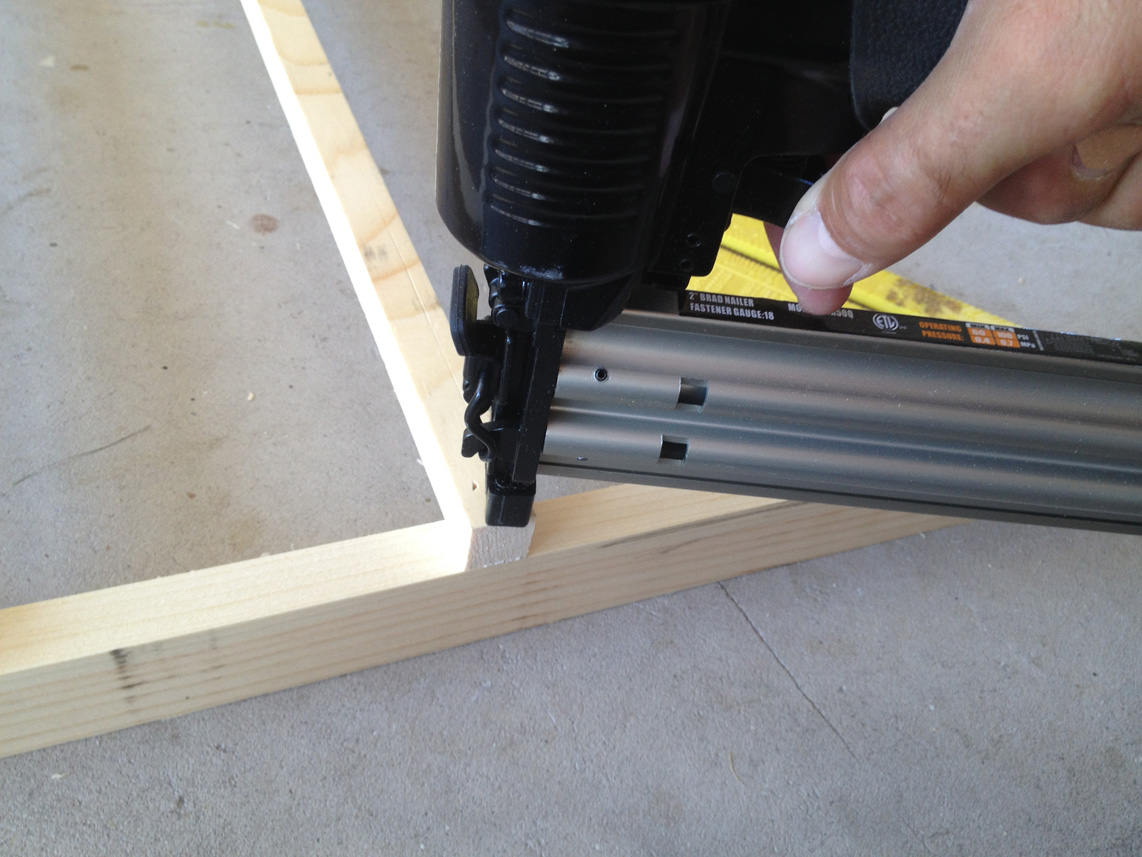
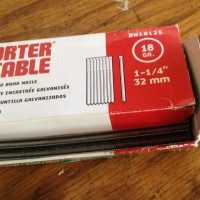
OK, so now it’s time for assembly. You’ll need a way to fasten the pieces together and I found my 18 gauge finishing nailer to be best suited for this, along with some wood glue. To attach the cross members to the legs I used inch and half brad nails.
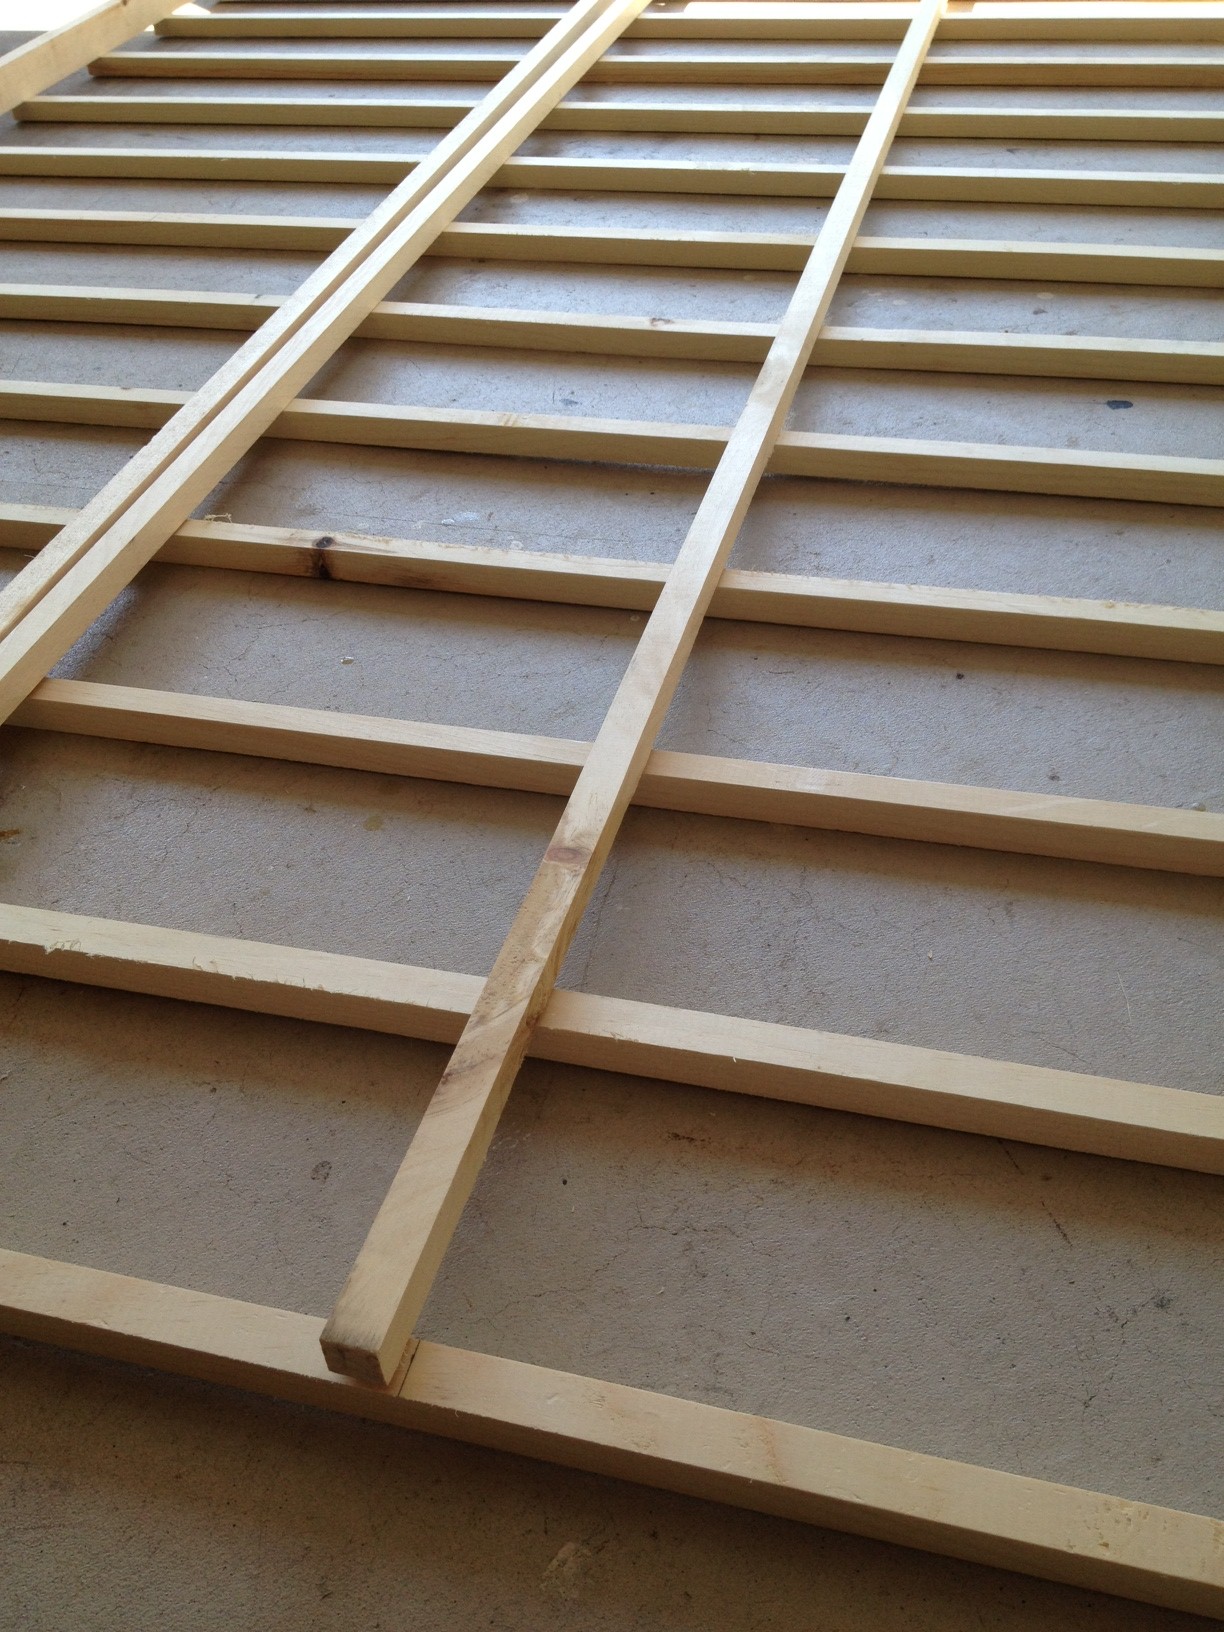
On a flat surface, take your two legs on end and clamp them together. Decide which end of the legs is going to be your bottom, and measure up from there twelve inches. Use a square and make your first line across both of them. Now from that line, go up another six inches and make another line. Continue up the length of the legs every six inches repeating this.
Now take the two legs and spread them out the width of the panel. It helps if you have something to help keep them square, but for now you can just eyeball it.
Across each of the lines, I layed out the thirteen cross members. I start at the bottom line first. You’ll want to attach each 1×1 cross member above your lines. Put a drop of glue, and place the 1×1 on it.
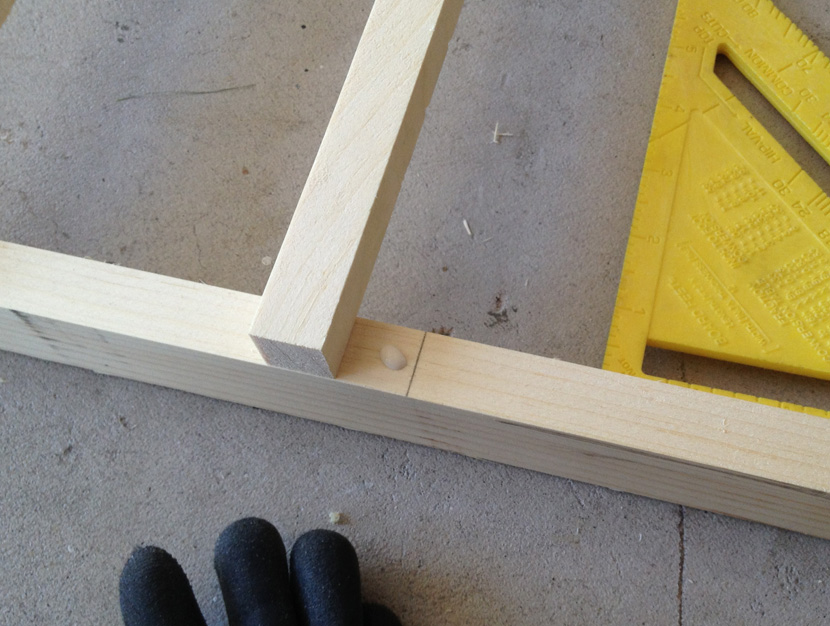
Use a framing square to make sure it’s perpendicular to the leg and drive two nails home.
Do the same thing on the opposite side. Again, make sure it’s square.
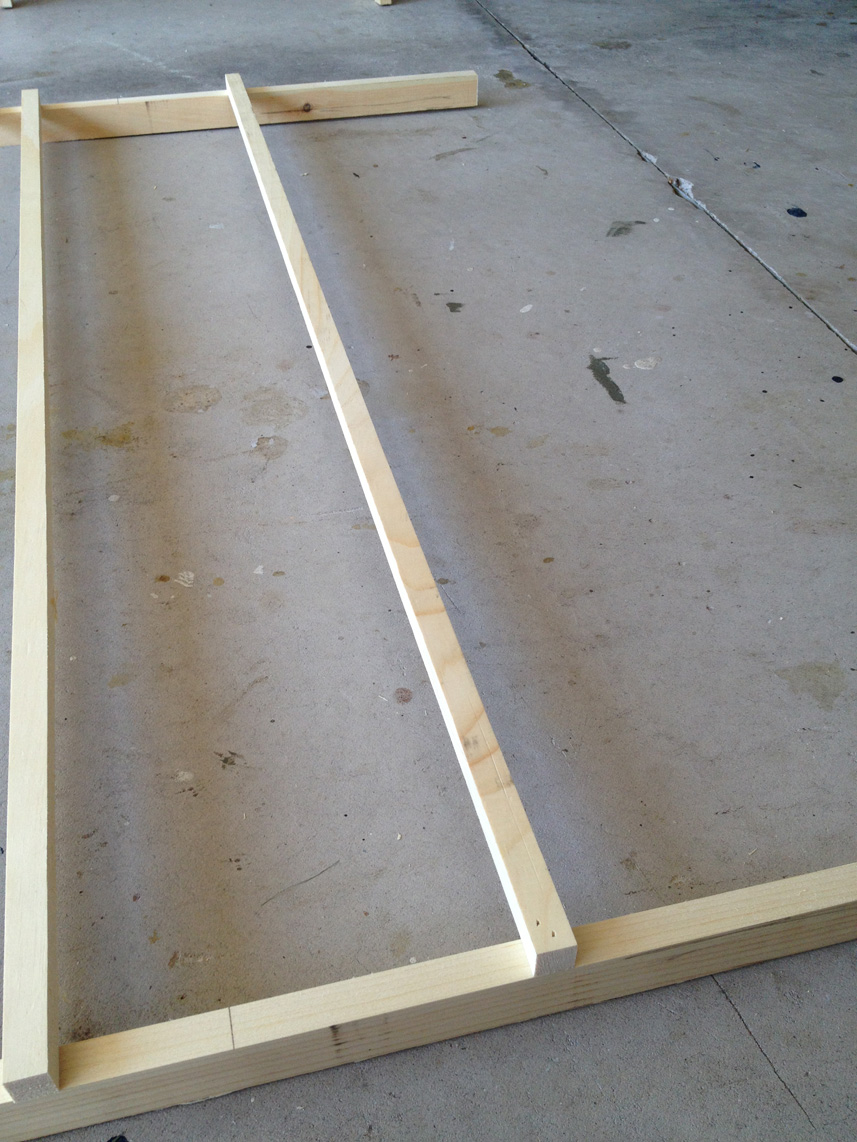
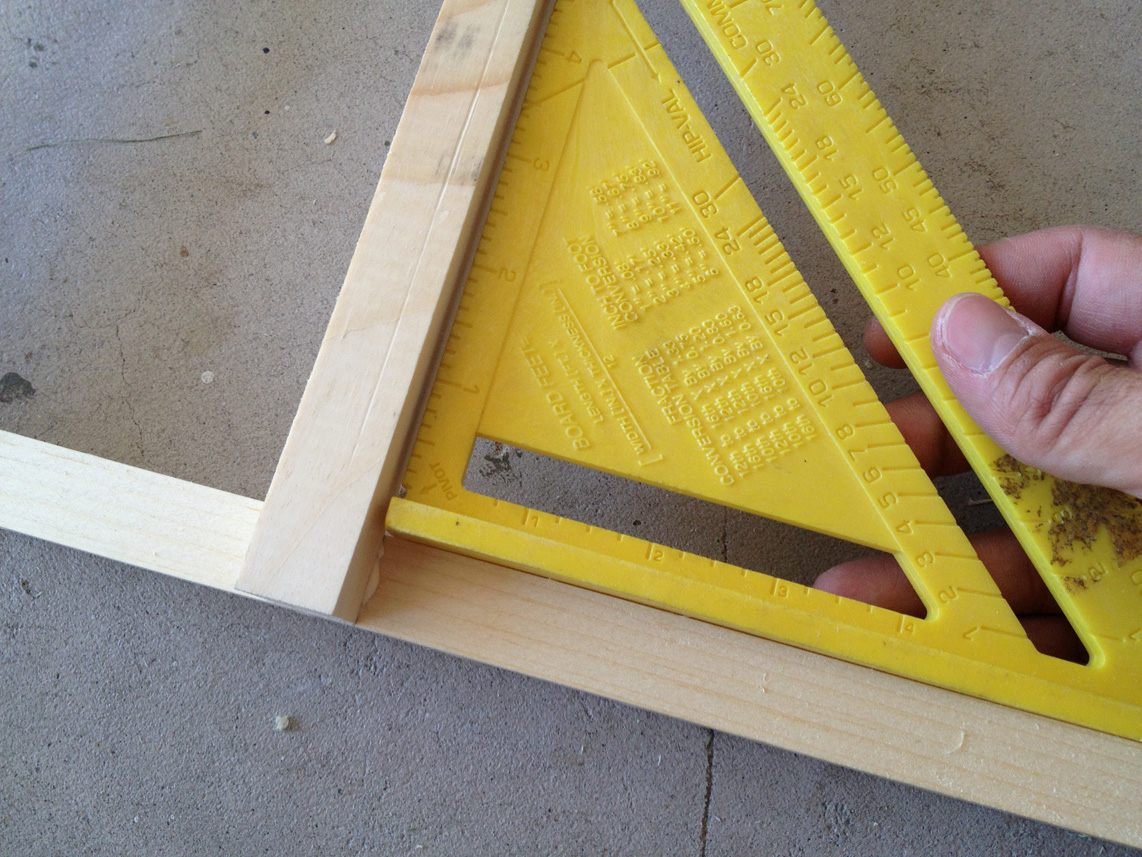
From there I attached the top cross member. I do this so I can then make sure the whole thing is square. You can check this by measuring diagonally from corner to corner. Adjust it accordingly and then continue on attaching your cross members.
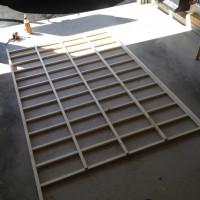
Attaching the ones near the center of the panel is probably a good idea, and then you can work your way up and down from there. You should end up with something that looks like this:
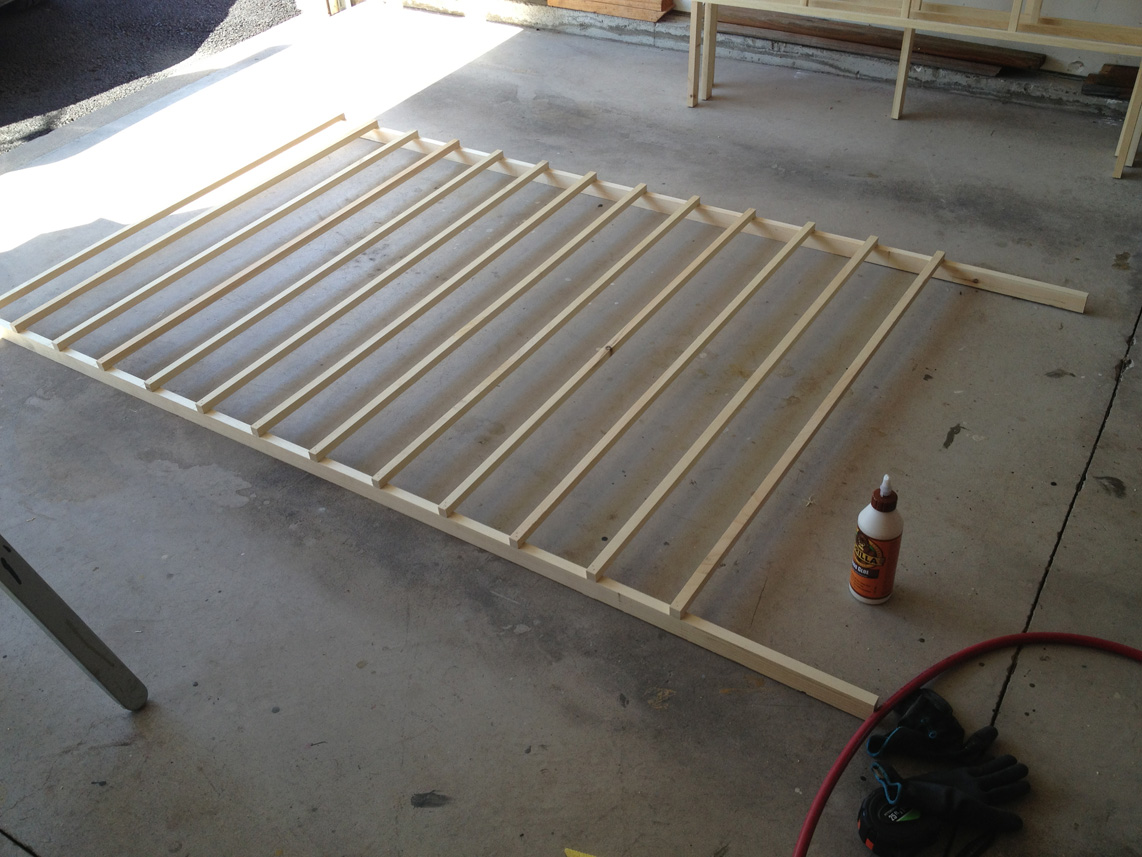
Now flip the entire piece over. Find the center of the panel and make a mark on the bottom cross member. Continue up to the top.
You’ll need to switch to 1 1/4″ brand nails at this point.
Lay down one of your three vertical supports along the lines you just made and attach it with glue and nails. I found one brad per joint works just fine. This is your center support.
Now measure 11″ in from the center vertical support on both sides and mark lines accordingly.
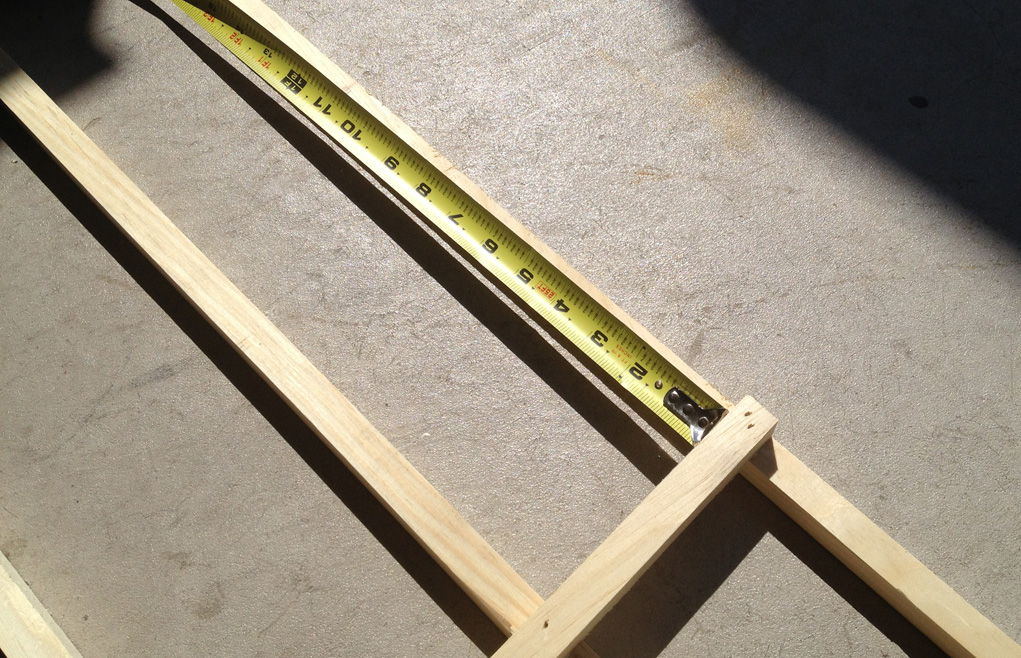
Do this up and down your cross members, and attach the two other vertical supports in the same manner. Make sure you attach them on the outside of these lines – on the side closer to the legs.
If all has gone well, you should end up with something like this:
These panels will support their own weight and a handful of paintings. All my pieces are wired and framed so I can easily use S hooks on the cross members to support the pieces. The panels themselves are not free standing, however they’ll be supported to my tent legs and the tent support members themselves. I would imagine you could build feet for these things if you wanted, perhaps forming some sort of T at the base of the legs, but for now these should work well for me.
Leave a Reply